Blog
5 Mistakes to Avoid When Specifying ADA-Compliant Grating
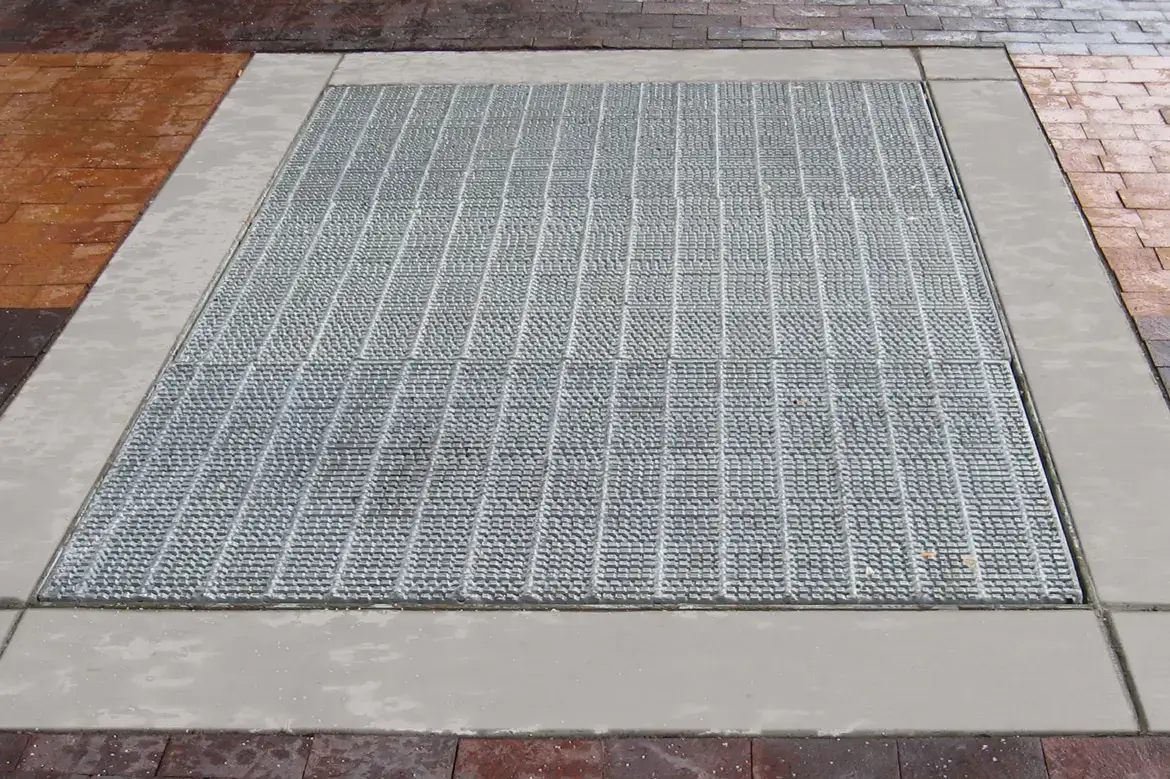
It’s easy to make mistakes when specifying ADA-compliant grating, whether it’s not accounting for slope or failing to consider installation conditions.
May 28, 2026
Grating load tables can be a little confusing, but they provide critical data. Learn more about how to read these tables and calculate potential load.
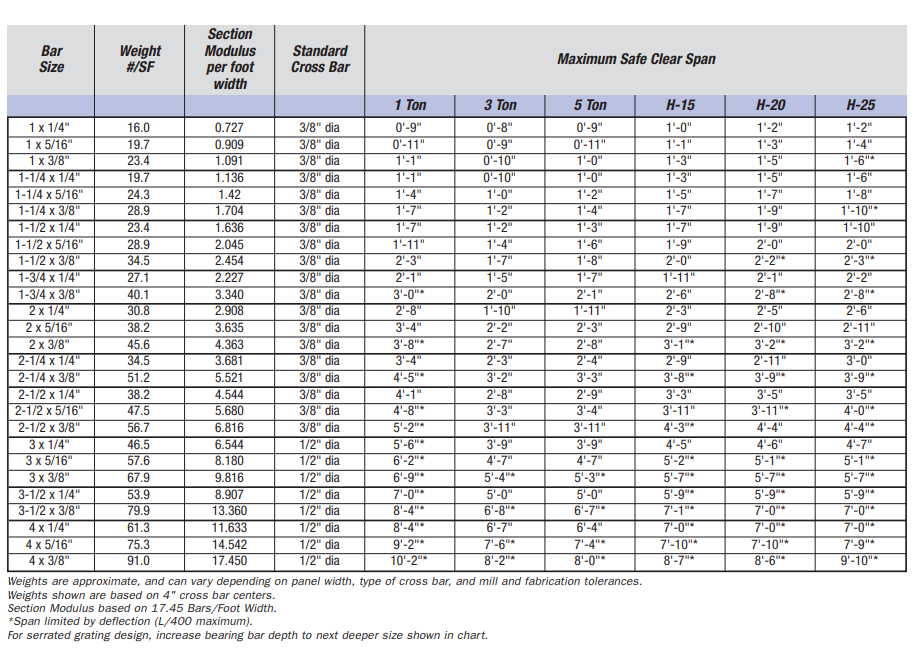
Grating load tables can be a little confusing, but they provide critical data on load capacity, deflection limits, and span capabilities to ensure the selected grating meets structural and safety requirements.
If you’ve never read a grating load table before, this article will walk through the terminology used in these tables and how to calculate potential load using data from our load table.
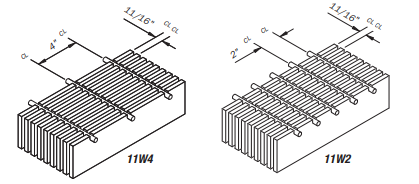
Bearing bars run parallel to the span direction and support applied loads. The size of the bearing bar (defined by depth and thickness) directly impacts the grating’s strength, stiffness, and load-bearing capacity. For example, a 1” deep bearing bar will have significantly less load capacity than a 2” deep bearing bar over the same span.
Note: For our load table, if you’re choosing serrated grating, you must increase bearing bar depth to the next larger size.
At Laurel Custom Grating, our listed weight per square foot is based on 4” cross bar centers.
Factors like panel width, cross bar type, and mill/fabrication tolerances will impact the overall weight of the grating, so the weight per square foot listed in the load table may not be completely accurate.
A grating’s section modulus quantifies the strength of the bearing bars relative to their depth and spacing and helps determine a grating’s resistance to bending under load.
A higher section modulus will indicate a stronger, stiffer grating that can handle heavier loads over longer spans with minimal deflection, while a lower section modulus means the grating is more flexible.
Our section modulus values in our load table are based on 17.45 bars per foot width to help ensure accurate comparisons between different bearing bar sizes and configurations.
Cross bars transfer and distribute weight across the grating. A stronger cross bar will improve impact resistance and reduce localized deflections for applications with rolling loads or heavy foot traffic.
Our load tables list cross bar values based on standard ⅜” diameter round cross bar at 4” centers. Please note that the cross bar spacing doesn’t affect design capacity—they can be adjusted without changing load performance.
The maximum safe clear span is the longest unsupported distance a grating panel can span while maintaining structural integrity under a given load. Longer spans need deeper, thicker bearing bars, while shorter spans can support higher loads with less deflection. Exceeding the maximum span in the load table is a safety risk and will lead to excessive bending under pressure.
Our load table lists maximum clear spans based on a maximum allowable deflection limit of L/400 (1/400th of the total span length) and different loading conditions, like point loads and vehicular loads.
So, if you need to support H-20 highway loads with a clear span of 3’-6” and are looking at a 2” x 3/8” bar size, you can see from the load table that the maximum span for that bar size for H-20 loads is 2’-11”. Since 3’-6” exceeds this limit, you’ll either need to increase the bearing bar depth or reduce the span by adding intermediate supports.
If you still have questions, please don’t hesitate to contact one of our specialists at Laurel Custom Grating. We’re here to help you find the right solution for your project!
It’s easy to make mistakes when specifying ADA-compliant grating, whether it’s not accounting for slope or failing to consider installation conditions.

Learn more about the differences between mill finish, painted, and galvanized coatings, and best use cases for each.
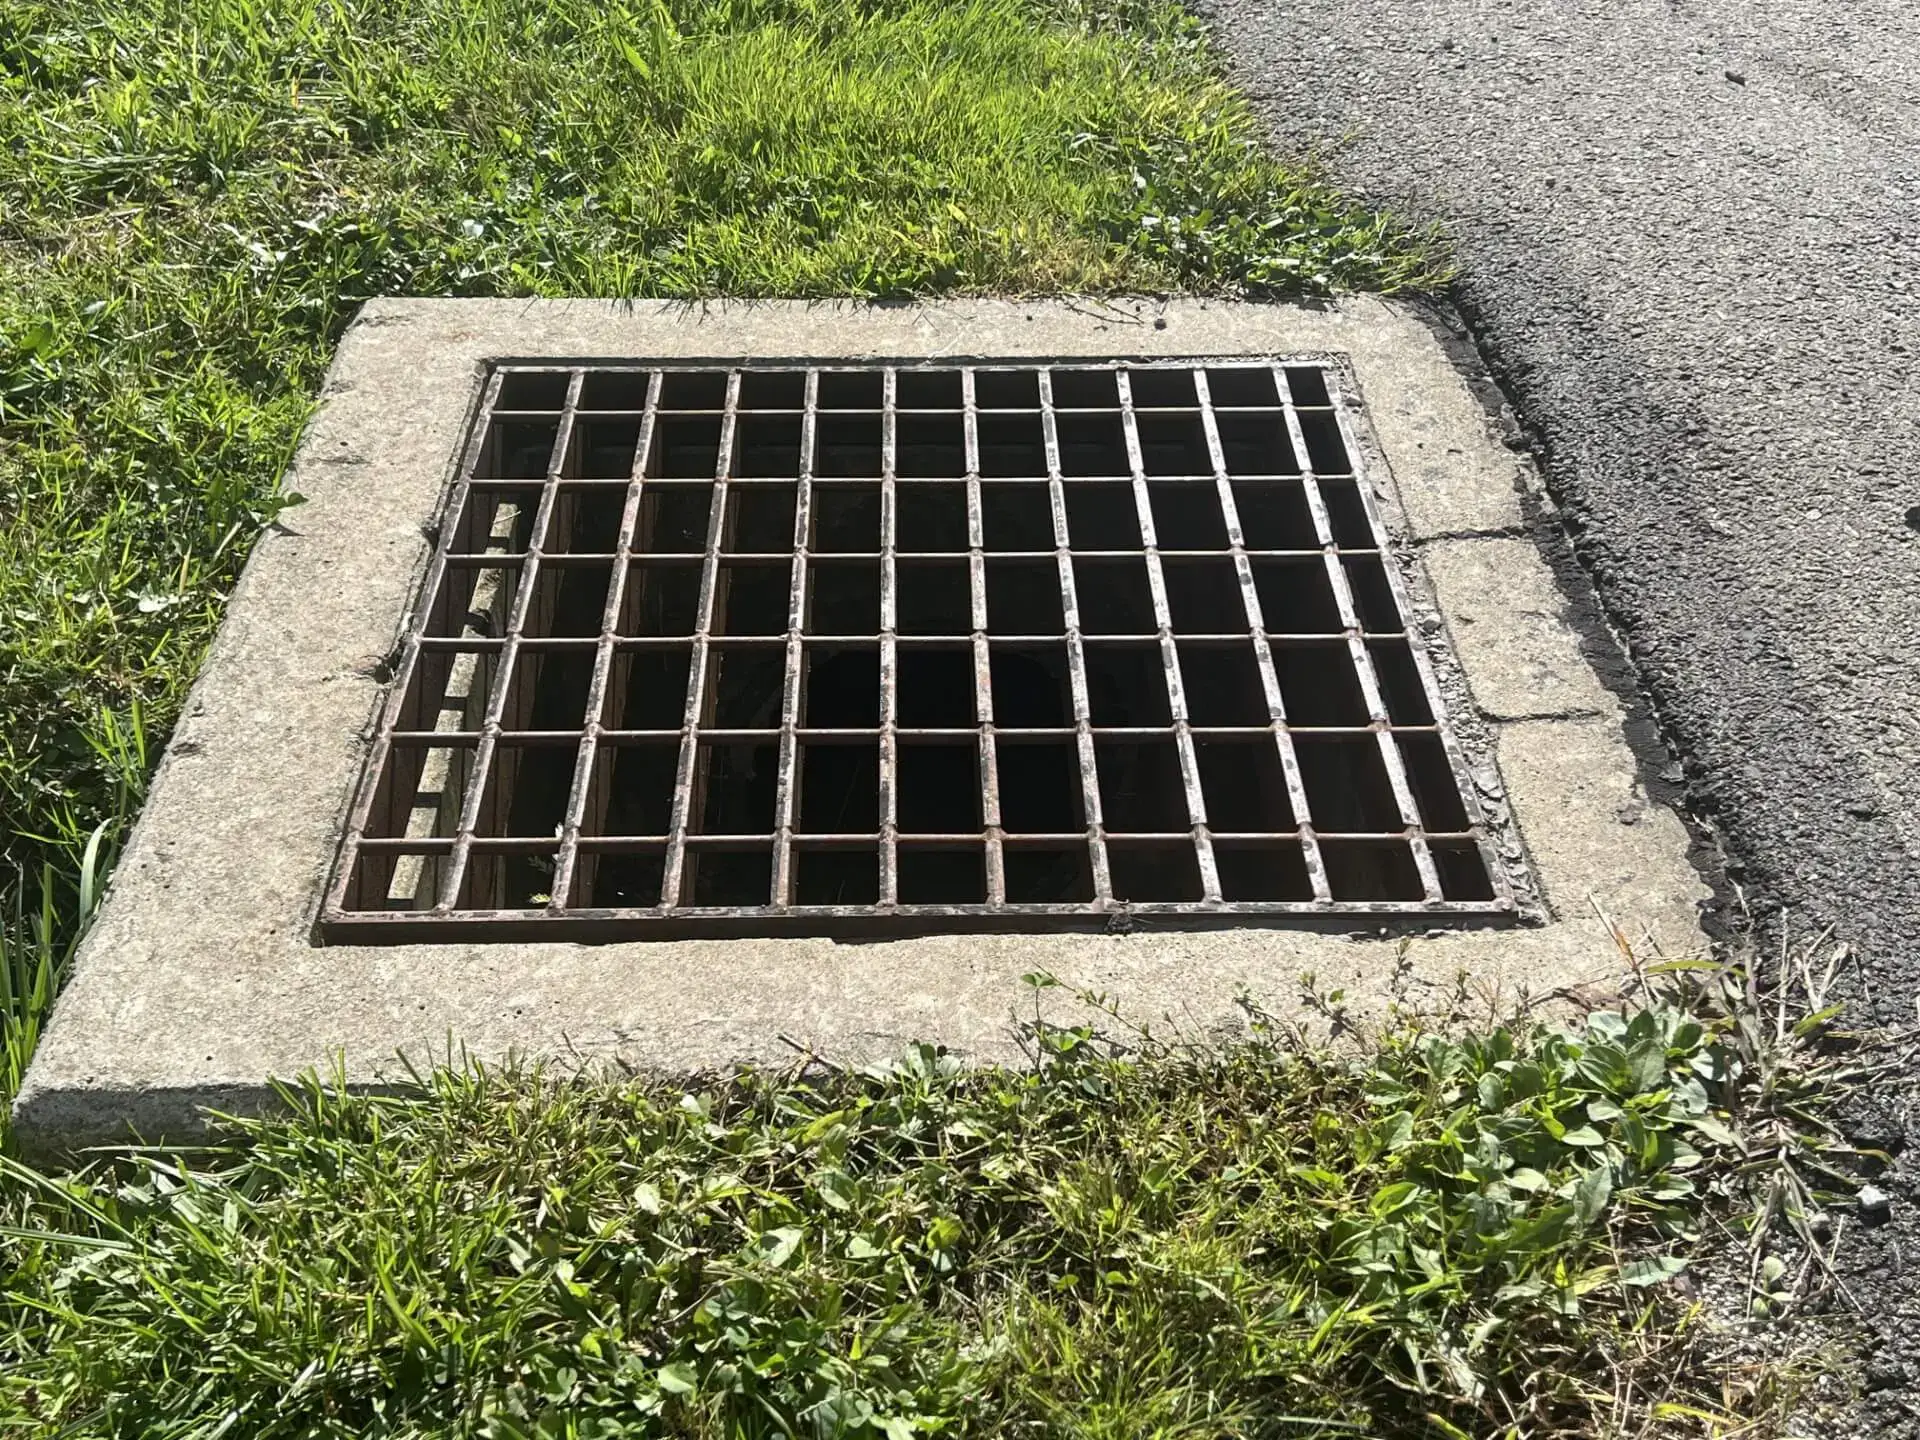
Roadway inlets are critical infrastructural components, and the choice of material used in their manufacturing determines their overall lifespan. Learn more.
We’re ready to fulfill your manufacturing needs. Take the next step to work with Laurel Custom Grating as your source for heavy-duty grating solutions.